Learn to Print
Step by step instructions to help you transform your ideas into 3D printed reality
Our research showed that many people weren’t entirely sure about what you actually have to do when 3D printing, so we’ve created a diagram here to help you with the basics! For a more detailed guide scroll to the bottom.
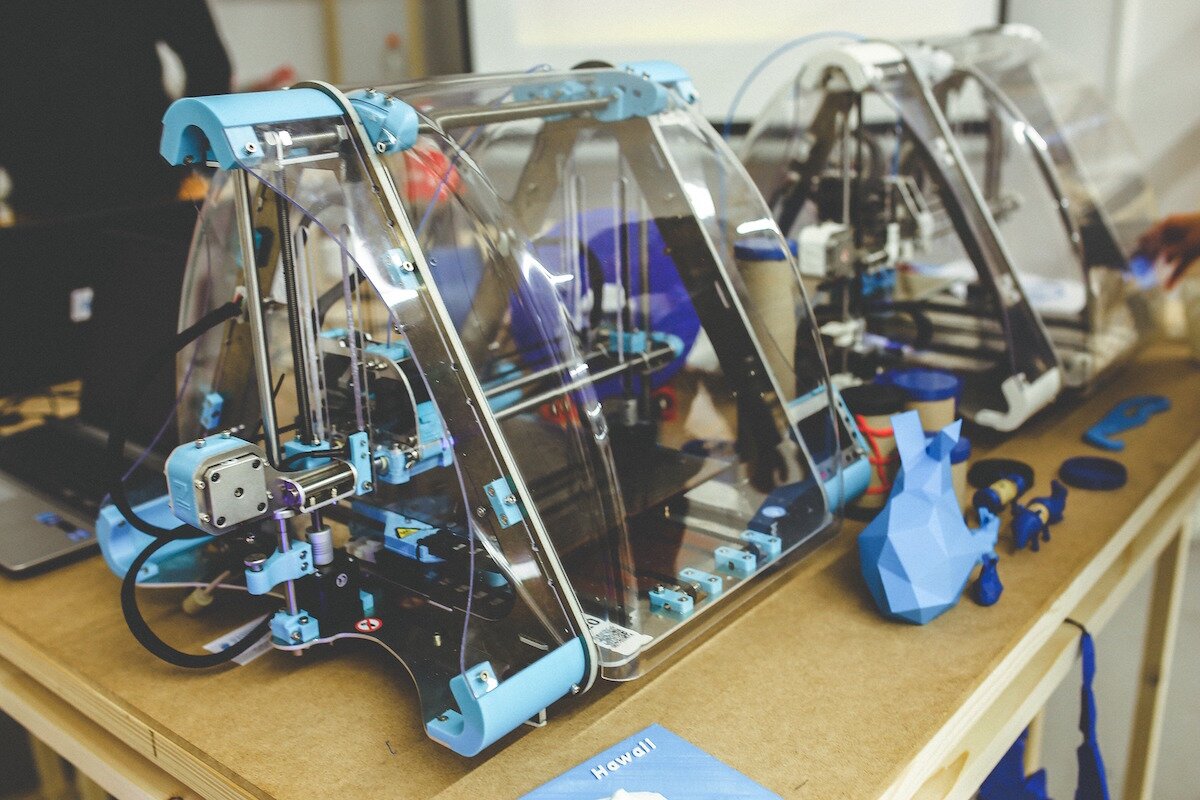
As with any complex household tool, learning to properly use a 3D printer takes time and patience. Different brands operate in different ways, and it’s important to make sure each one is calibrated and maintained properly. Make sure to read the instructions for your printer carefully.


Learn more
Here’s a detailed guide the Melbourne School of Design’s Fab Lab uses when people want to use their 3D printers (ps. they let you use their printers!)
- 3D Printing details and guidelines
There are lots of helpful sites out there for learning how to do 3D printing in a more detailed way. Have a look at some of these:
- 3D Printing for Beginners
- 3Der – 3D Printing Basics
- IC3D – 3D Printing Tips and Tricks
- Shapeways – Modeling Guide for 3D Printing
- iMaterialise – 5 Common Mistakes in 3D Printing
- 3D Printing Industry – 3D Printing Basics